


How to Make a Fishing Jig Skirt: The EK Silicone Loader Tool Protocol

EK Silicone Loader: Standard Operational Protocol
Achieving Consistent, High-Value Jig Skirt Assembly
Mission Briefing
This document outlines the standard operational protocol (SOP) for constructing professional-grade bass jig skirts utilizing the EK Silicone Loader Tool. Adherence to this protocol ensures consistent, high-value results aligned with the EK operational standard.
Required Assets
- EK Silicone Loader (Stainless Steel Tube, Cone Tip, Hook)
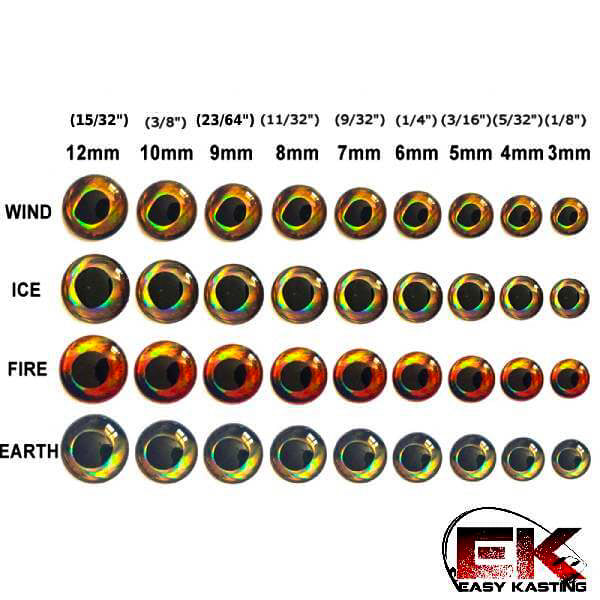
- Premium Silicone Skirt Tabs (Specify pattern/color codes)
- Round Rubber Skirt Collar (Correct size)
- Bass Jig Head
- Precision Cutting Tool
- Optional: Gel Super Glue (e.g., Loctite Gel Control)
1Asset Preparation
Specify Tab Count: Determine required component count per skirt unit (Standard: 40-50 tabs; Adjust based on tactical needs).
Organize Components: Stage selected skirt tab patterns for efficient assembly.
Select Collar: Ensure the rubber skirt collar diameter is appropriate for the tab count and tool.
2Tool & Collar Staging
Assemble Tool: Insert the cone tip firmly into the end of the stainless steel tube.
Position Collar: Place the round rubber skirt collar onto the narrow end of the cone tip.
Load Collar onto Tube: Roll the skirt collar up the cone tip until it transfers securely onto the main stainless steel tube.
Remove Cone Tip: Detach the cone tip from the tube, leaving the collar positioned on the tube.
3Component Loading Protocol
Expose Hook: Slide the internal hook mechanism out from the tube.
Load Tabs: Select desired skirt tabs. Position the hook across the *width* of the tab near its center point, ensuring roughly half the strands are on either side. Drape the tab over the hook. Repeat for desired count, layering patterns as needed.
Retract Hook & Tabs: Carefully slide the hook mechanism back into the tube, pulling the skirt tabs up inside the tube with it. Ensure tabs are straight and not bunched.
Operational Note:
Ensure the hook divides the strands evenly before retraction to guarantee a balanced skirt density upon completion.
4Collar Deployment & Skirt Formation
Position Collar: Ensure the rubber collar staged on the tube is near the end where the tabs are emerging.
Deploy Collar: Roll the skirt collar off the end of the tube and directly onto the center point of the skirt tabs held within. The collar should snap firmly into place, securing the tabs together.
Extract Skirt: Gently pull the newly formed skirt assembly away from the tool.
5Jig Head Integration
Mount Skirt: Slide the completed skirt assembly (collar first) over the hook point and onto the collar keeper of your selected bass jig head. Ensure it is seated securely.
Optional - Secure Collar: For maximum durability, apply a small amount of gel super glue around the base of the collar where it meets the jig head. Avoid excessive glue application onto the skirt strands. Allow to cure per manufacturer instructions.
6Trimming Protocol
Determine Trim Length: Specify final skirt length relative to hook bend (Standard: ~1.5-2 inches post-bend).
Execute Cut Style: Employ precision cutting tool for desired end profile (Straight, Angled, Layered). Cut the tag ends formed during assembly.
Operational Note:
For optimal hydrodynamics, initial trim should be slightly longer than target. Conduct water testing and execute further trimming incrementally as required.
7Final Quality Control
Verify Distribution: Confirm even component spread around the collar for balanced hydrodynamic profile.
Separate Strands: Ensure individual component strands are separated for maximum action potential.
Verify Collar Security: Confirm collar is firmly seated on jig head keeper and glue (if applied) is cured.
Operational Test (Recommended): Submerge finished asset in water to verify intended action signature.
Troubleshooting Operational Friction
Collar Difficult to Roll: Ensure correct collar size for tool/tab count. Light lubrication (water) on cone may assist.
Tabs Bunch During Retraction: Load fewer tabs at once or ensure they are properly draped over the hook before sliding back into tube.
Collar Doesn't Seat on Tabs: Ensure collar is rolled fully off the tube end. Verify tab count isn't too thick for the collar size.
Skirt Uneven After Trimming: Ensure the hook was positioned to divide the strands roughly in half during loading (Step 3). Practice consistent cutting technique.
Glue Affects Strands: Use gel super glue specifically. Apply minimally only at the collar base using a precision applicator.
Standard Pattern Intel
Black & Blue: Stained water / low-light protocol.
Green Pumpkin & Watermelon: Clear water / natural presentation protocol.
Chartreuse & White: High turbidity / low visibility protocol.
Black & Chartreuse: High contrast / multi-condition protocol.
Custom Protocols: Deviate based on specific operational requirements and local forage intel.
Visual SOP Available: Refer to EK social channels for video demonstrations of this protocol.
Protocol Complete: Execute Build
With the EK Silicone Loader Tool and adherence to this SOP, you are equipped to produce assets meeting the highest operational standard. Consistent execution yields superior results.
Stay Sharp. Build Strong.


